오늘의 목표 : 사진 안나오니까 사진 첨부해서 나오게 하기!
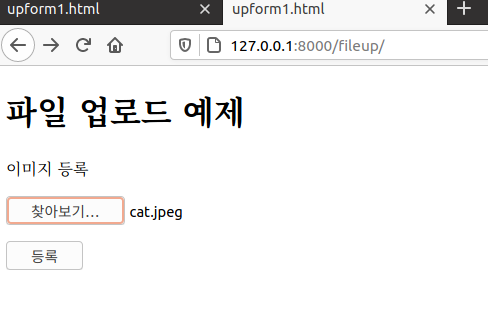
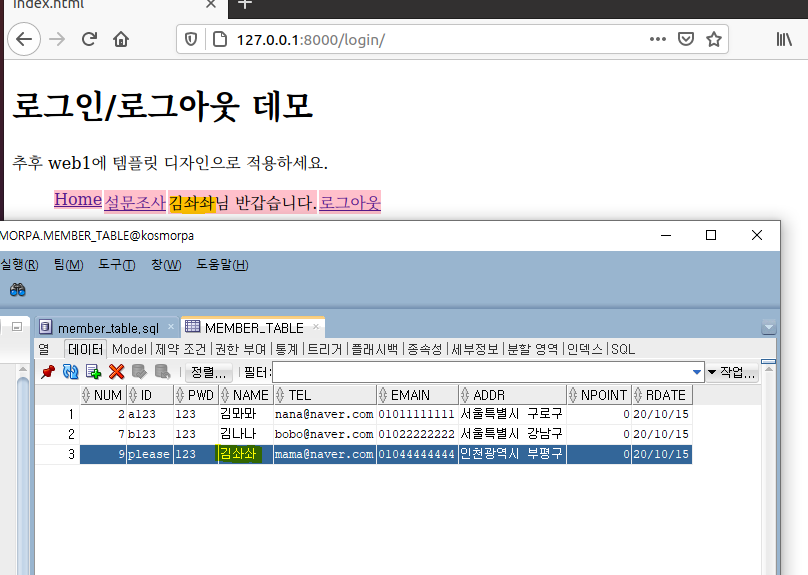
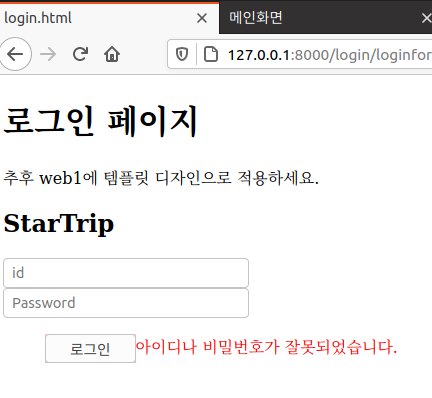
1. 초기 상태
jsp로 연결되어 있었던 파일들을 전부 html로 수정하였다.
연결시켰던 상품 등록 input 에 파일을 추가하고, 그걸 DB로 받아오게 한다.
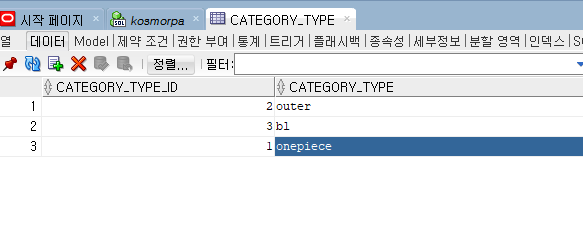
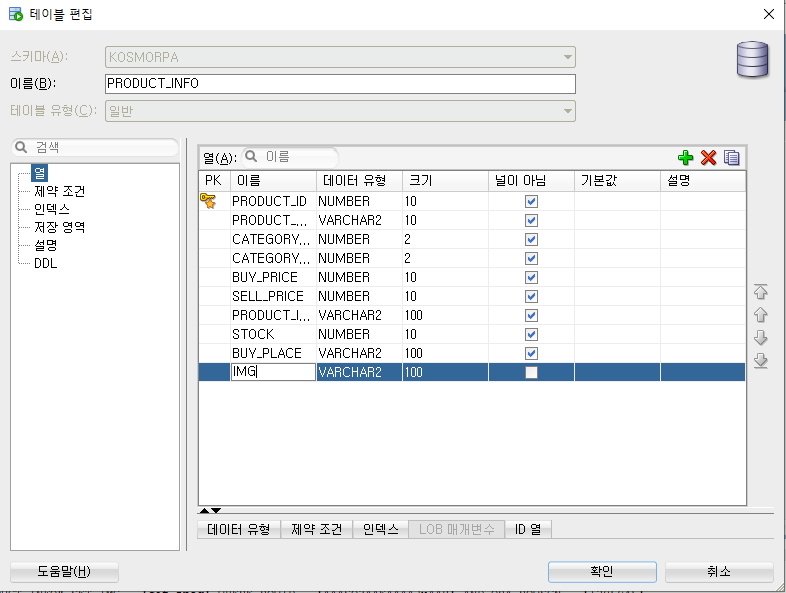
2. img 카테고리 만들기
귀찮으니까 쿼리문 안쓰고 그냥 sql에 등록
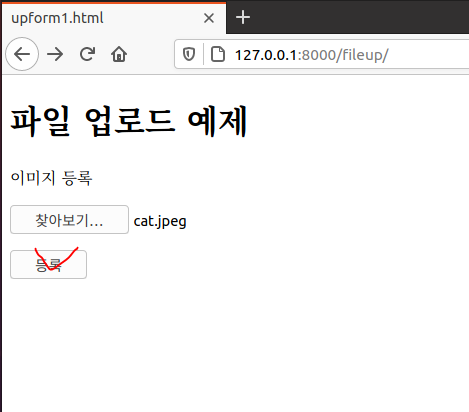
3. input 타입 file 추가
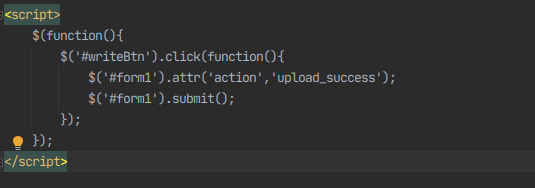
파일 DB에 올리는 코드 추가.
이미 table을 감싸는 form에 encodetype까지 설정 해둠.
<form action="add_product" method="post" name="add_product" id="add_product" enctype="multipart/form-data">△form 태그 action
<tr>
    <th>* 이미지 업로드</th>
    <td><input type="file" name='file' id='file' maxlength="500" style="width:50%;">
    <input type="hidden" name='product_ip' value="<%=request.getRemoteAddr()%>"> </td>
</tr>
△원래 코드
<tr>
    <th>* 이미지 업로드</th>
    {% csrf_token %}
    <td><input type="file" name='file1' id='file1' maxlength="500" style="width:50%;"></td>
</tr>△바뀐 코드

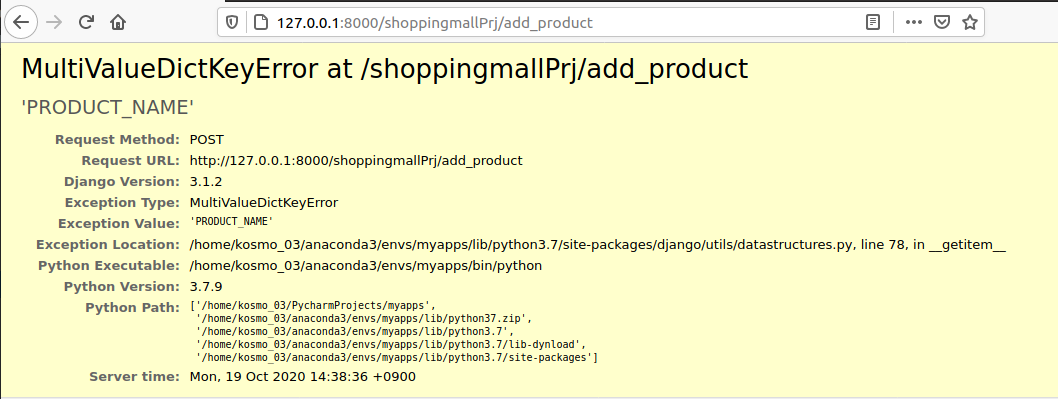
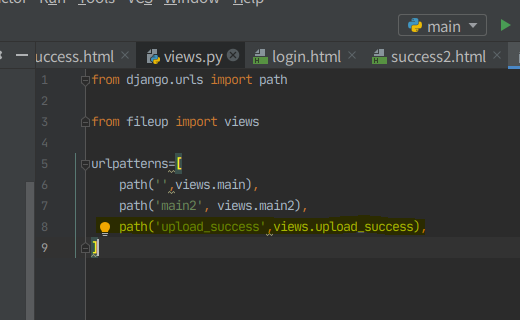
4. add_product에 추가(view.py)
원래 add_product는 product_info에 담아 데이터를 보내는데에 썼다.
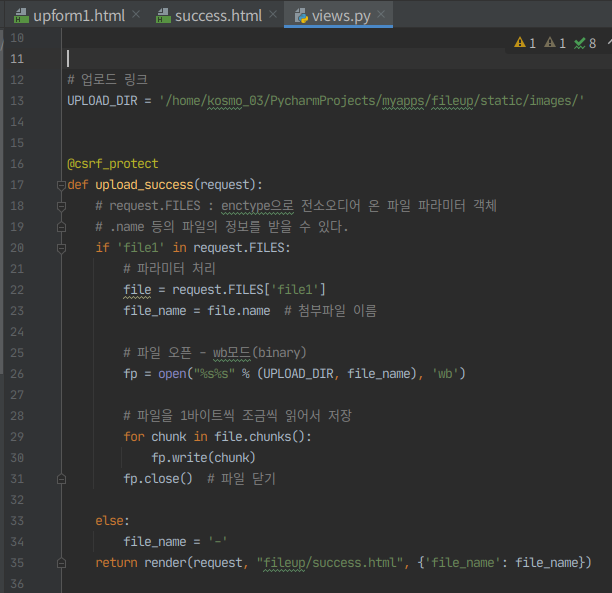
그 데이터에 파일도 추가해야하는데, 그 파일의 파라미터를 처리하는 if문이 필요하다. -> 파일 업로드 링크에 저장
DB에는 단순히 파일의 이름만 들어간다.
@csrf_exempt
def add_product(request):
    product_info = (request.POST['product_name'],
                    request.POST['category_gender_id'], request.POST['category_type_id'],
                    request.POST['buy_price'], request.POST['sell_price'],
                    request.POST['product_info'], request.POST['stock'], request.POST['buy_place'])
    product_insert(product_info)
    return redirect('/shoppingmallPrj/manager')
△원래 코드
# 업로드 링크
UPLOAD_DIR = '/home/kosmo_03/PycharmProjects/myapps/shoppingmallPrj/static/upload/'


@csrf_protect
def add_product(request):

    if 'file1' in request.FILES:
        # 파라미터 처리
        file = request.FILES['file1']
        file_name = file.name  # 첨부파일 이름

        # 파일 오픈 - wb모드(binary)
        fp = open("%s%s" % (UPLOAD_DIR, file_name), 'wb')

        # 파일을 1바이트씩 조금씩 읽어서 저장
        for chunk in file.chunks():
            fp.write(chunk)
        fp.close()  # 파일 닫기

    else:
        file_name = '-'

    product_info = (request.POST['product_name'],
                    request.POST['category_gender_id'], request.POST['category_type_id'],
                    request.POST['buy_price'], request.POST['sell_price'],
                    request.POST['product_info'], request.POST['stock'], request.POST['buy_place'], file_name)
    product_insert(product_info)
return redirect('/shoppingmallPrj/manager', {'file_name': file_name})△바뀐 코드
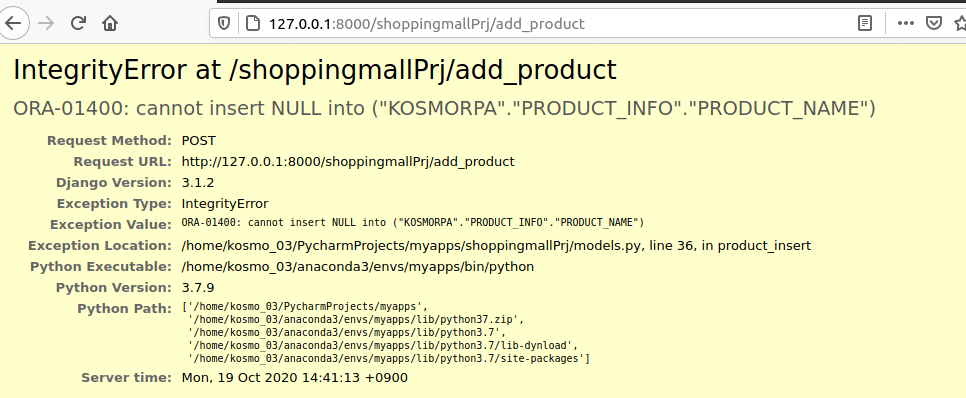
5. model.py 수정
파일 이름이 컬럼으로 추가되었으므로, insert 데이터를 9개로 늘려준다.
def product_insert(product_info):
    print(product_info)
    conn = ora.connect(database)
    cursor = conn.cursor()
    sql = "insert into product_info values(Product_info_seq.nextVal, :1,:2,:3,:4,:5,:6,:7,:8)"
    cursor.execute(sql, product_info)
    cursor.close()
    conn.commit()
    conn.close()
△원래 코드
def product_insert(product_info):
    print(product_info)
    conn = ora.connect(database)
    cursor = conn.cursor()
    sql = "insert into product_info values(Product_info_seq.nextVal, :1,:2,:3,:4,:5,:6,:7,:8,:9)"
    cursor.execute(sql, product_info)
    cursor.close()
    conn.commit()
conn.close()△바뀐 코드
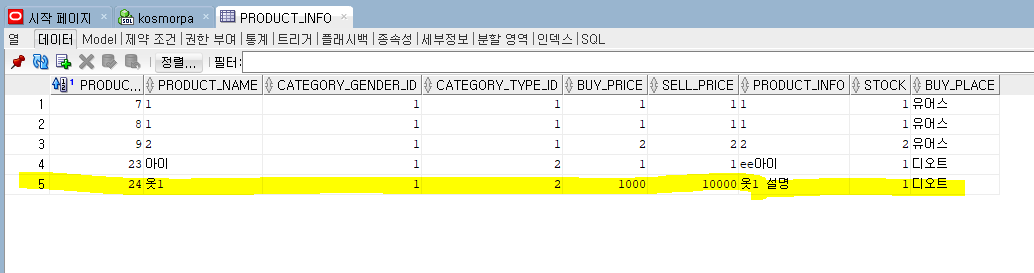
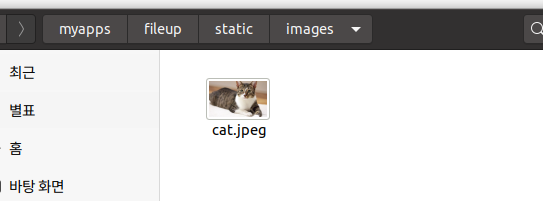
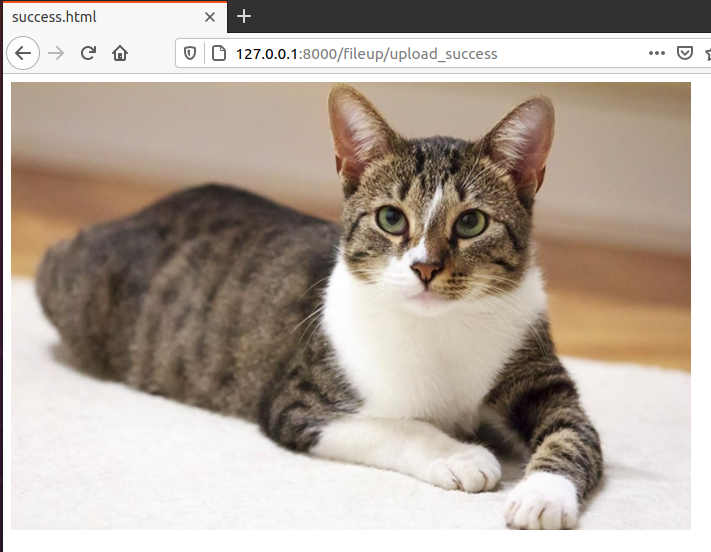
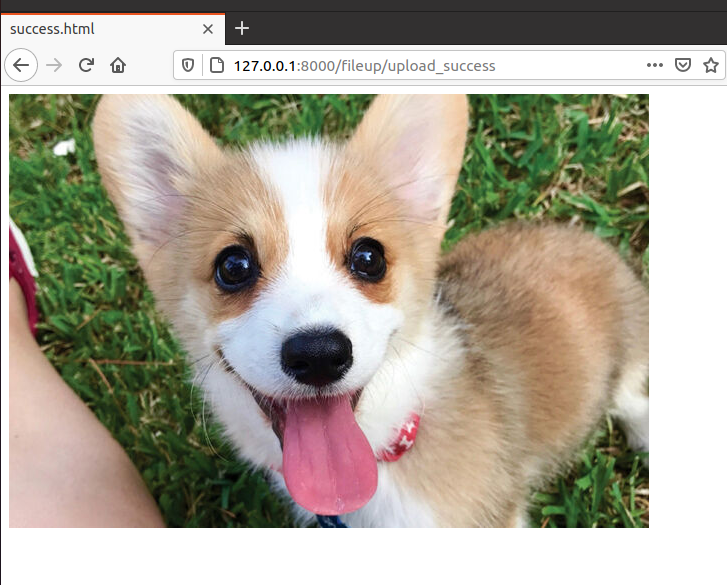
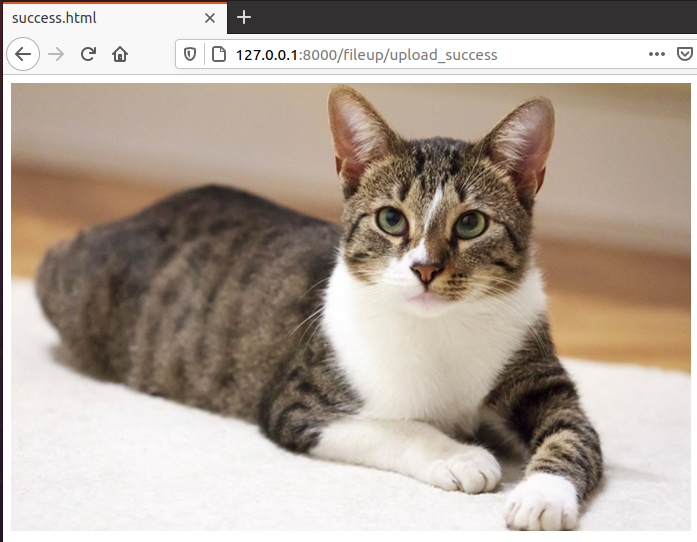
6. 결과
이미지가 잘 들어간다.

7. 상품 세부 내역에 첨부파일 연결

파일이 추가되었다. 어차피 DB에는 이름만 저장되어있으므로, 그 이름만 꺼내오면 사진이 꺼내질 것이다.
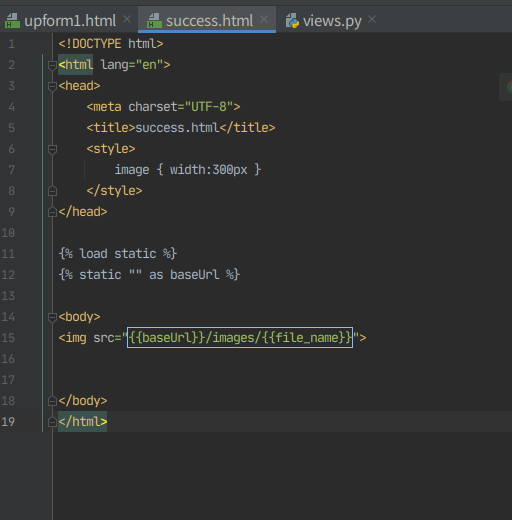
img 태그로 사진을 불러오자.
원래는 jsp 파일이기 때문에 {% for %}를 사용해서 i라는 변수를 출력, 모든 컬럼값들이 차례대로 나오게 했다.
사진까지 추가되었으므로 이미지 파일은 따로 출력하게 하고, 헤드라인도 출력값에 맞게 맞춰준다.
                    <div class="shop__cart__table">
                        <table>
                            <thead>
                                <tr>
                                    <th>상품명</th>
                                    <th>입고가</th>
                                    <th>판매가</th>
                                    <th>매입처</th>
                                    <th>입고</th>
									<th>재고</th>
									<th>재입고여부</th>
									<th>파일이름</th>
									<th>파일용량</th>
                                </tr>
                            </thead>

                            <tbody>
                            	<c:forEach items="${product_infoList }" var="product_detail">
                            	{% for p in product_detail%}
                                <tr>
                                {% for i in p%}
									<td>{{i}}</td>
                                  {% endfor%}
									<td>
										<c:choose>
											<c:when test="${product_info.product_fsize==0}">첨부파일 없음</c:when>
					    					<c:otherwise>
                                  				<img src="resources/upload/${product_info.product_fname}" width='50'>
                                  			</c:otherwise>
									 	</c:choose>
									</td>
									<td>${product_info.product_fsize}byte</td>
                                </tr>
                                {% endfor %}
                                </c:forEach>
                        </table>
                   </div>
△원래 코드
                    <div class="shop__cart__table">
                        <table>
                            <thead>
                                <tr>
                                    <th>번호</th>
                                    <th>상품명</th>
                                    <th>성별</th>
                                    <th>옷타입</th>
                                    <th>입고가</th>
                                    <th>판매가</th>
                                    <th>입고</th>
                                    <th>재고</th>
                                    <th>매입처</th>
                                    <th>파일이름</th>
                                    <th>이미지</th>
                                </tr>
                            </thead>

                               {% for p in product_detail%}
                                   <tr>
                                    {% for i in p%}
                                    <td>{{i}}</td>
                                  {% endfor%}

                                  <!-- 이미지파일 출력 -->
                                       <td><img src="{{baseUrl}}/upload/{{p.9}}" width='50'></td>
                                   </tr>
                                {% endfor %}

                        </table>
</div>△바뀐 코드

8. 쇼핑하기 기능에서 사진 띄우기
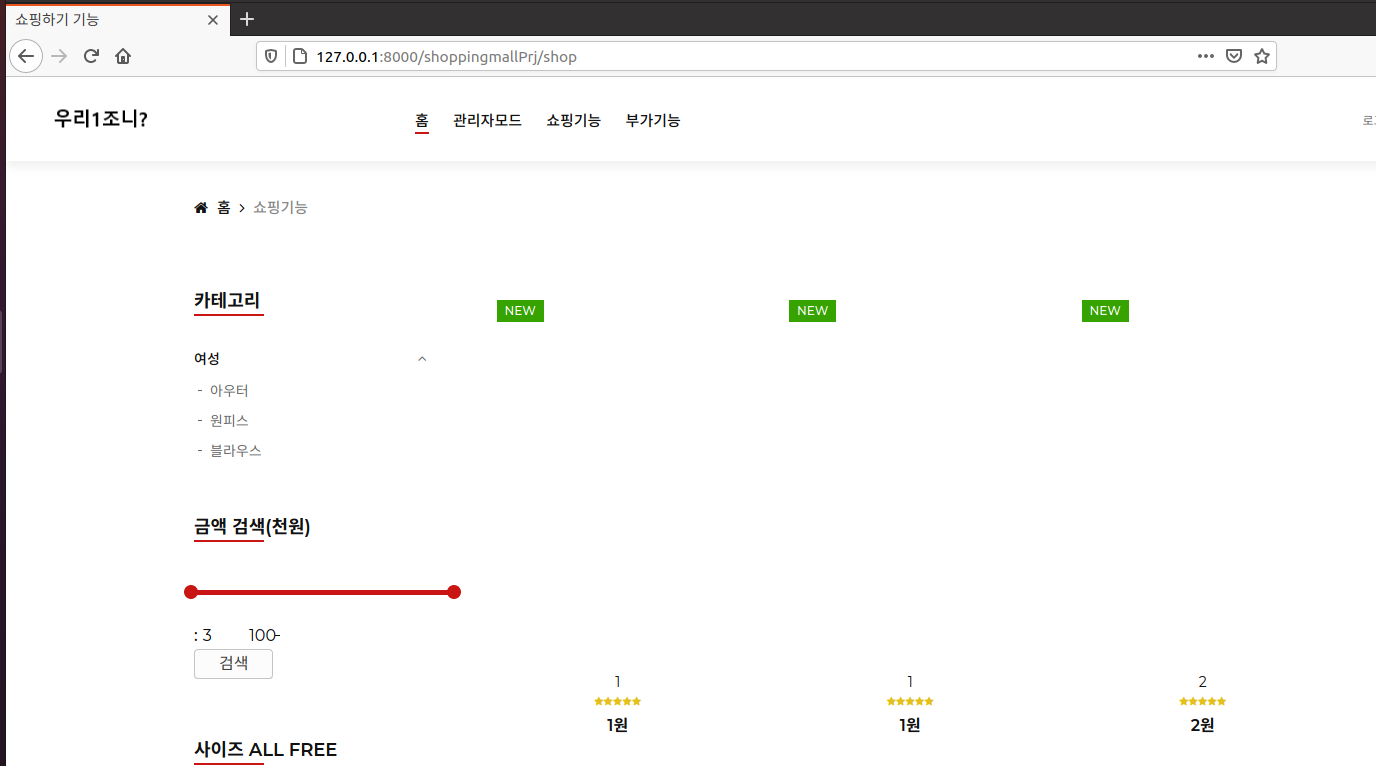
모델에서 img 파일을 불러온다고 하지 않았기 때문에 img를 추가해주어야한다.
def getProduct():
    conn = ora.connect(database)
    cursor = conn.cursor()
    sql = "select product_id, product_name, sell_price from product_info order by product_id"
    cursor.execute(sql)
    result = cursor.fetchall()
    cursor.close()
    conn.close()
    return result
△원래 코드
def getProduct():
    conn = ora.connect(database)
    cursor = conn.cursor()
    sql = "select product_id, product_name, sell_price, img from product_info order by product_id"
    cursor.execute(sql)
    result = cursor.fetchall()
    cursor.close()
    conn.close()
return result△바뀐 코드
그 후 html로 들어가 4번째 순서에 있는 img를 맞게 불러와준다.
                                <div class="product__item">
                                    <div class="product__item__pic set-bg">
                                        <div class="label new">New</div>
                                        <ul class="product__hover">
                                        <!-- 추가 -->
                                        <div><img src="{{baseUrl}}/upload/{{i.3}}" width='500'></div>
                                        <!-- 추가 -->
                                            <li><a href="{{baseUrl}}/upload/{{i.3}}" class="image-popup"><span class="arrow_expand"></span></a></li>
                                            <li><a href="product_details?product_id={{i.0}}"><span class="icon_heart_alt"></span></a></li>
                                            <li><a href="product_details?product_id={{i.0}}"><span class="icon_bag_alt" ></span></a></li>
                                        </ul>
                                    </div>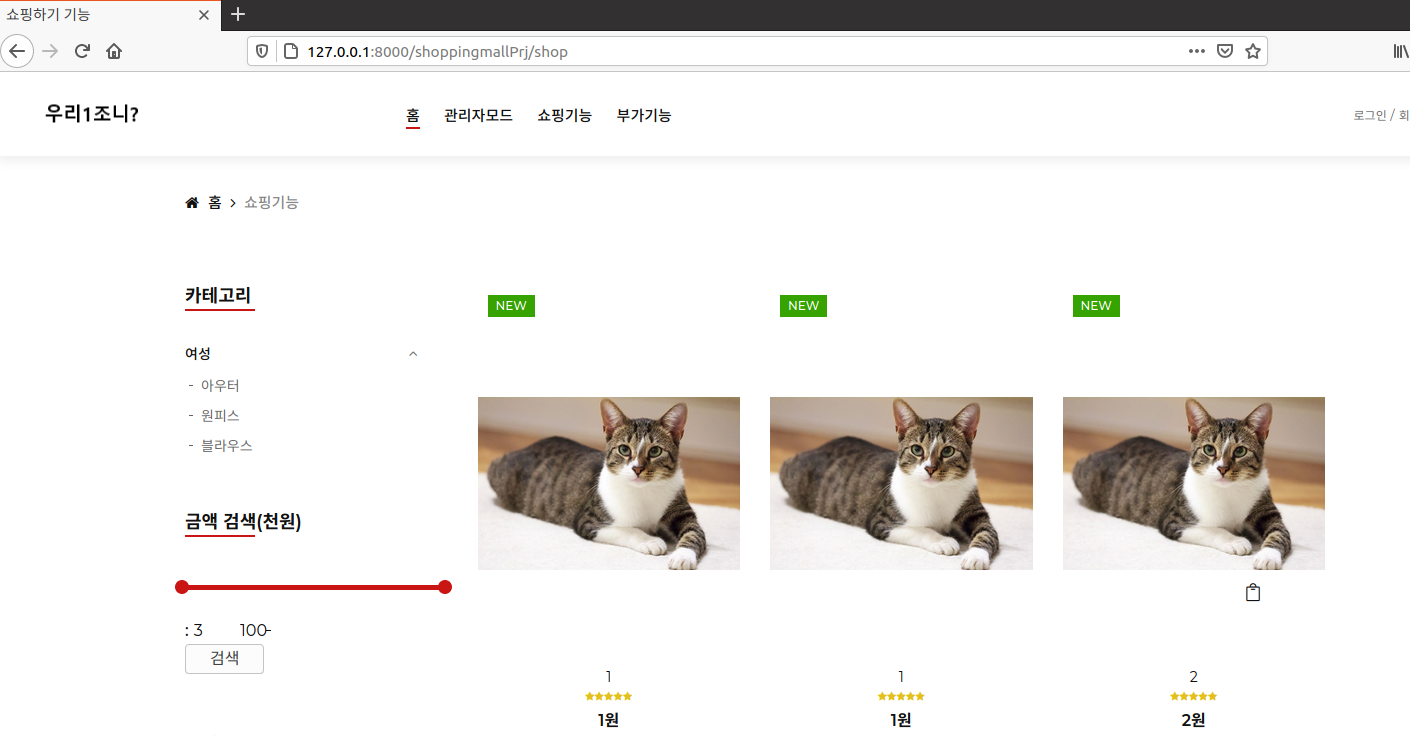
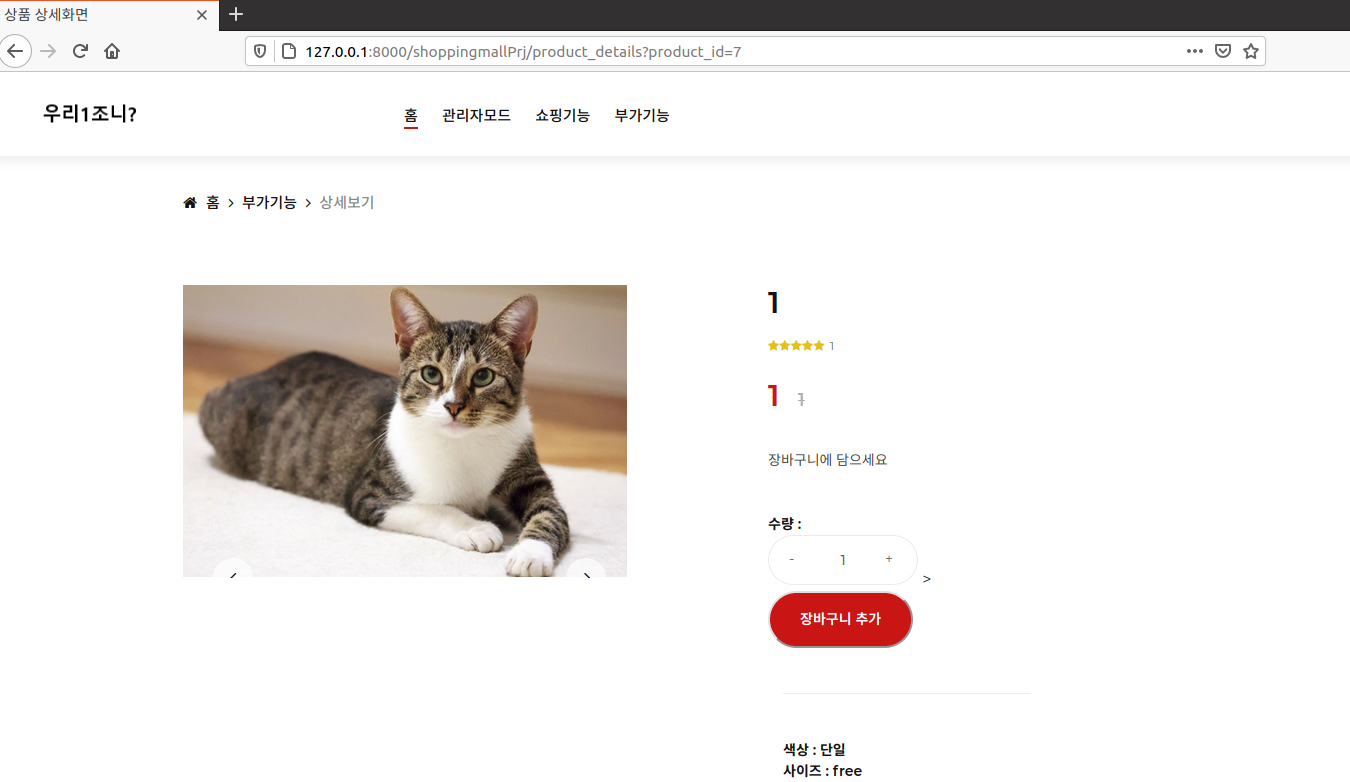
9. 상세보기 페이지에서 이미지 링크 수정
위처럼 모델에 이미지를 추가해주어야한다.
def getProduct_details(product_id):
    conn = ora.connect(database)
    cursor = conn.cursor()
    sql = "select product_name, product_info, sell_price, img from product_info where product_id=:product_id"
    cursor.execute(sql, product_id=product_id)
    result = cursor.fetchone()
    print(result)
    cursor.close()
    conn.close()
    return result
spring 기준으로 만들었던 이미지 링크를 경로에 맞게 수정해준다.
<img alt="상세보기" src="resources/upload/{{res.0}}" width='80%'>△원래 코드
<img alt="상세보기" src="{{baseUrl}}/upload/{{res.3}}" width='80%'>△바뀐 코드
'[ 빅데이터 ]' 카테고리의 다른 글
| [빅데이터] 웹 크롤링 : BeautifulSoup(2) : select, css selector, pandas (0) | 2020.10.23 |
|---|---|
| [빅데이터] 웹 크롤링 : BeautifulSoup(1) find, xml 파싱, 태그 속성값 크롤링 (0) | 2020.10.23 |
| [빅데이터] 프로젝트 - 상품등록 페이지 만들기(1) (0) | 2020.10.19 |
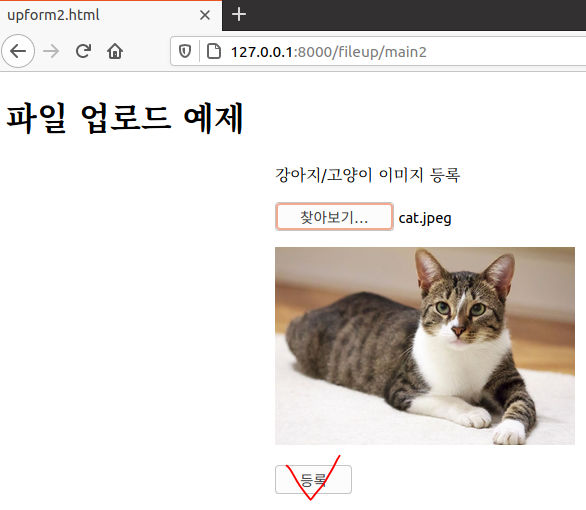
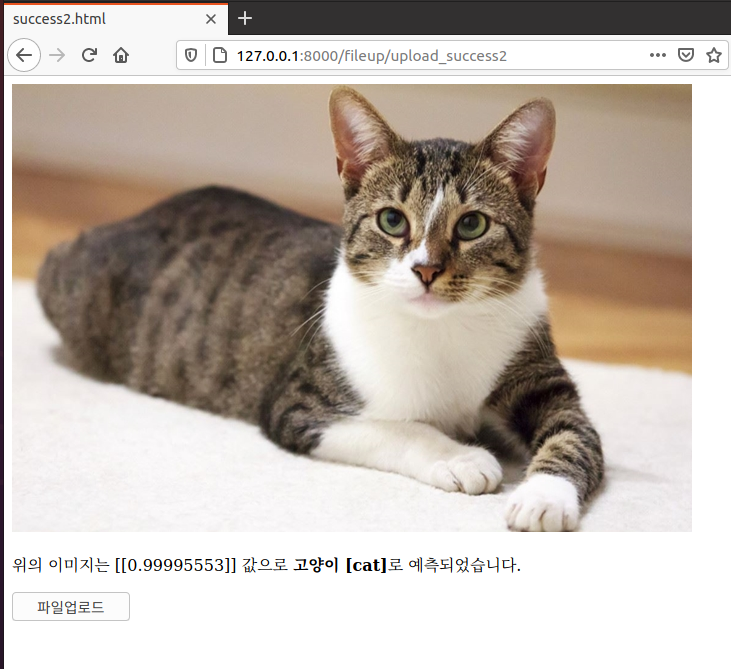
| [빅데이터] 홈페이지 만들기(3) : 파이썬으로 파일 업로드 앱 만들기(cnn, 이미지분류) (1) | 2020.10.17 |
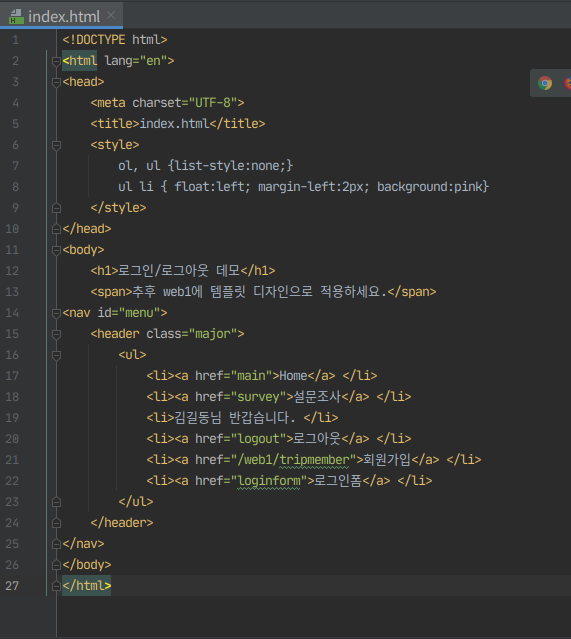
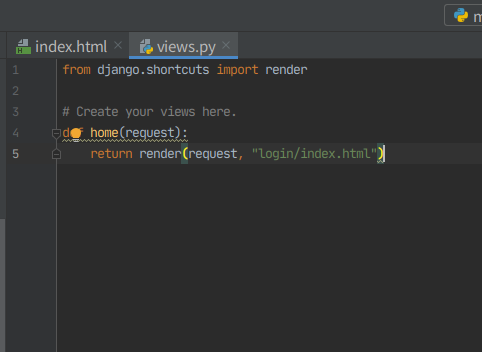
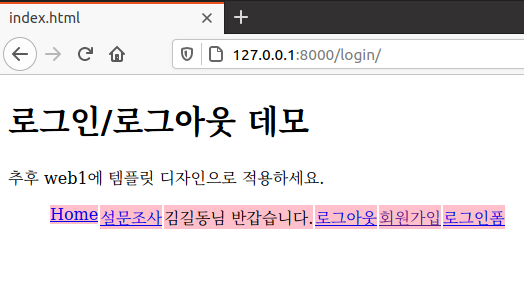
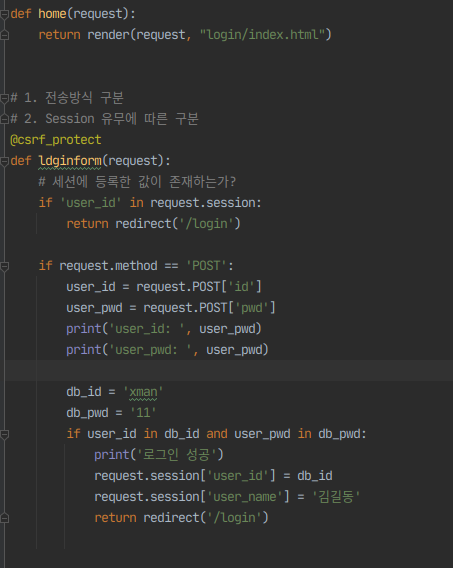
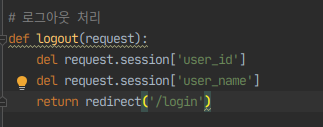
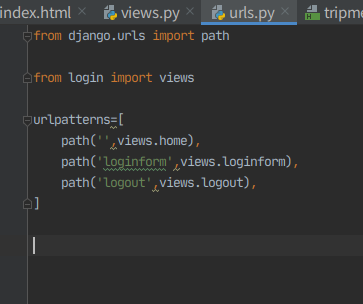
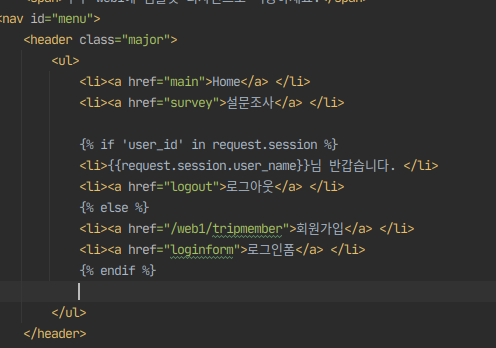
| [빅데이터] 홈페이지 만들기(2) : 파이썬으로 로그인/로그아웃 데모 앱 만들기(오라클 연동) (0) | 2020.10.16 |